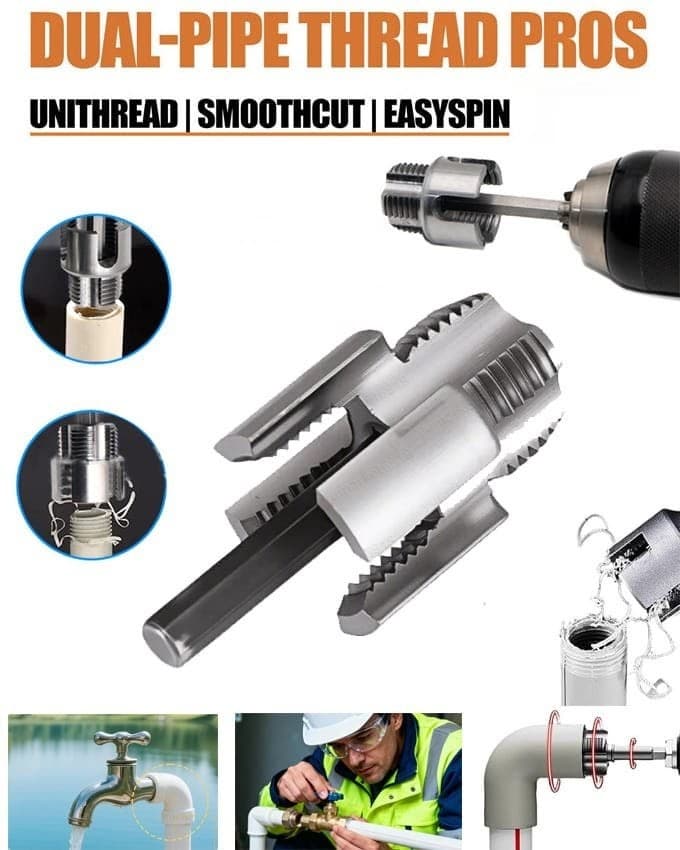
The quickest way to cut or repair a 3/4-inch thread on PPR or PVC pipe is a drill-powered PPR threading tool. Fit the 2-in-1 Drill Powered Pipe Threader (Rs 1,250 at Punjab Tools) in your drill, set the drill to forward at low speed, start the cutter dead straight and let it pull itself on for a few turns, then run it off in reverse. Seal the new thread with thread tape and tighten firmly, without forcing it. For 1/2-inch and 1-inch threads, use a manual die stock kit instead.
This is the hands-on how-to. For the full plumbing kit, including reamers, faucet wrenches and step bits, see our PPR and PVC plumbing tools guide.
What a PPR Threading Tool Is For
PPR pipe (also written PPRC or PPR-C) is joined by heat fusion, not threads. Threads appear only where the line meets something that screws on, such as a tap, angle valve, geyser connection, motor or tank connector. Those are the points that fail: a tap forced on crooked, threads worn out by years of tap changes, or a fitting behind the tiles stripped by overtightening.
A drill-powered pipe threader handles three jobs:
- Repairing a stripped thread inside a wall fitting. The internal side re-cuts the chooriyan (threads) inside the elbow or socket so a new tap holds again, without breaking tiles to replace the fitting.
- Cutting a new thread on a pipe end. The external side threads a 3/4-inch plastic pipe so you can screw on a socket, cap or valve.
- Cleaning up damaged threads that are flattened or partly torn, as long as there is enough plastic left to hold a fresh thread.
As listed, the tool is heat-treated alloy steel with a hex shank that fits common electric and battery drills. It cuts standard tapered plumbing threads on PPR, PVC and PE pipe, works best at low to medium speed, and comes in one size: 3/4 inch.
What You Need Before You Start
| Item | Why you need it | Price |
|---|---|---|
| 2-in-1 Drill Powered Pipe Threader | Cuts internal and external 3/4" threads | Rs 1,250 |
| A drill with reverse and a variable speed trigger | Slow, controlled cutting and backing out | From Rs 4,200 |
| PPR Pipe Reamer Drill Bit Set | Deburrs and chamfers the pipe end so the cutter starts square | Rs 1,200 |
| Thread tape (often sold as Teflon tape) | Seals the finished joint | Any hardware shop |
| Pipe cutter or fine hacksaw | A square cut on the pipe end | Any hardware shop |
| Rag, small brush and a bucket | Clearing shavings and flushing the line |
Shut the water off first. For a line fed by the roof tank, close the valve for that bathroom or kitchen, then open the lowest tap on the line to drain it, so no water runs back into the drill.
Drill Speed and Direction
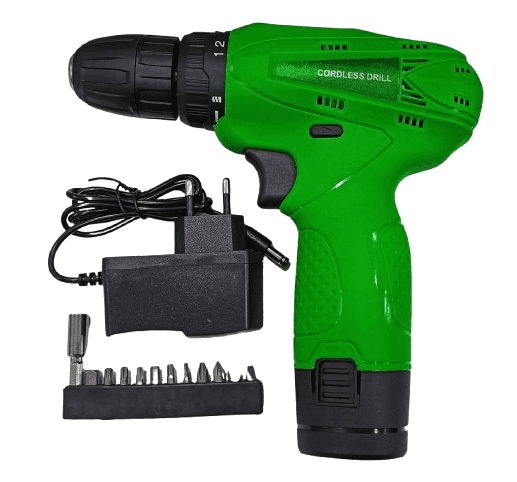
Any drill with a variable speed trigger and forward/reverse will drive the threader. The corded Sared SR-EID-J1301 (Rs 7,000) lists both, plus a 360° side handle that helps when the cutter bites and the drill tries to twist. The 12V Compact Cordless Drill (Rs 4,200) has a variable speed trigger and 18+1 torque settings, works through load-shedding and keeps a mains cable off a wet bathroom floor.
Get these settings right first:
- Hammer mode off. Threading needs plain rotation. Hammer action chips plastic threads and can damage the cutter.
- Low speed. The listing says low to medium speed. Start slowly enough that you could count the turns. Plastic that spins too fast heats up, softens and tears instead of cutting.
- Forward to cut, reverse to back out. Plumbing threads are right-hand, so the drill's normal forward direction cuts them. Once you have enough thread, switch to reverse and unscrew the tool.
- Trigger lock off. If your drill has a lock-on button, leave it alone. You must be able to stop the moment the cutter jams.
- Clutch. On a cordless drill, use the drill setting or a high clutch number, or it will slip as soon as the cutter bites.
How to Thread a PPR or PVC Pipe End
- Cut the pipe square. A slanted cut starts the cutter crooked, and a crooked thread leaks however much tape you use.
- Deburr and chamfer. Run the PPR reamer bit lightly over the end, or use a sharp knife, to remove burrs and leave a small bevel on the outside edge so the cutter starts straight.
- Hold the pipe still. Clamp loose pipe in a vice with a rag around it so the jaws don't crush it.
- Line up the drill. Put the external side of the threader on the pipe end, then check the drill from the side and from above. In both views it should sit in a straight line with the pipe.
- Start slowly with light, steady pressure. After two or three turns the thread pulls the tool on by itself, and your only job is to keep it straight.
- Stop at the right length. Cut about as much thread as the fitting has inside it. Too short makes a weak joint; too long thins the pipe wall for nothing.
- Reverse off at low speed, keeping the tool in line so you don't tear the new thread.
- Clean and test. Brush out the shavings and screw the fitting on by hand before taping. It should start easily and run smoothly most of the way.
How to Repair a Stripped Thread in a Wall Fitting
This is the job that makes the threader worth buying. A tap that won't tighten, or one that spins in the wall, usually means the female thread in the elbow or socket behind it is damaged.
- Turn off the water and drain the line.
- Remove the old tap or nipple. If a broken piece is stuck inside, the 8-in-1 Faucet and Sink Installer Wrench (Rs 1,500) includes a T-bar extractor for broken inlet pipe threads.
- Look closely at the fitting. If the plastic is cracked or split, re-threading won't hold and the fitting has to be replaced.
- Put the internal side of the threader into the fitting, square to the wall face. A small torch helps you see.
- Run forward at low speed with light pressure for a few turns, then reverse out.
- Flush the line. Open the supply for a second or two into a bucket to wash out shavings. Plastic chips left inside end up in tap cartridges and mixer filters.
- Test-fit the new tap or nipple by hand before you tape it.
If you use a corded drill in a bathroom, plug it into an RCD-protected socket and keep the cable off the wet floor. Our power tool safety guide explains why.
Sealing the Thread With Thread Tape
Wrap the male thread in the direction it turns when tightened. Looking at the end of the pipe, that means clockwise. Wrapped the other way, the tape unwinds as you screw the fitting on.
- Start one thread back from the end so tape doesn't hang into the pipe.
- Keep the tape slightly stretched so it beds into the thread.
- Use enough wraps to fill the thread, but not so many that the fitting is hard to start.
- Tighten by hand, then a little more with a wrench. Plastic threads split if forced. If it drips, take it apart and re-tape instead of cranking harder.
If you prefer a paste or liquid sealant, choose one that says it is safe for plastic pipe.
Common Mistakes
| Mistake | What happens | Fix |
|---|---|---|
| Running the drill at full speed | Plastic heats up and tears instead of cutting | Low speed, steady pressure |
| Starting the cutter at an angle | Crooked thread that leaks or won't take a fitting | Square cut, chamfer, check alignment from two sides |
| Hammer mode left on | Chipped thread, damaged cutter | Drill mode only |
| Forcing it when it jams | The drill twists in your hand and the thread strips | Stop, reverse a little, clear the chips, continue |
| No flushing after re-threading a wall fitting | Shavings block taps and filters | Flush into a bucket before fitting the tap |
| Using it on 1/2" or 1" pipe | No usable thread, ruined pipe end | Use the manual die kit for other sizes |
The Manual Alternative: PVC Pipe Die Stock Kit
The Professional PVC Pipe Threading Tool Kit (Rs 1,650) is a manual die stock with 1/2-inch, 3/4-inch and 1-inch dies. As listed, it cuts NPT threads on PVC, PPR and PE pipe, with alloy steel dies in an engineering plastic body. It cuts external threads only, so it cannot rescue a stripped wall fitting, but it covers the two sizes the drill threader doesn't. Start the die square and back it off a quarter turn every turn or two to break the chips. It is slower, but you feel every turn, which helps on old or sun-faded pipe.
| Job | Better tool |
|---|---|
| Stripped thread inside a wall elbow or socket | Drill threader, internal side |
| Several 3/4" pipe ends on one site | Drill threader |
| 1/2" or 1" pipe | Manual die kit |
| Old, brittle or sun-faded pipe | Manual die kit |
| No drill and no power | Manual die kit |
Many plumbers carry both. Together they cost Rs 2,900 at our prices and cover all three common sizes plus internal repairs.
Shop · pipe threader
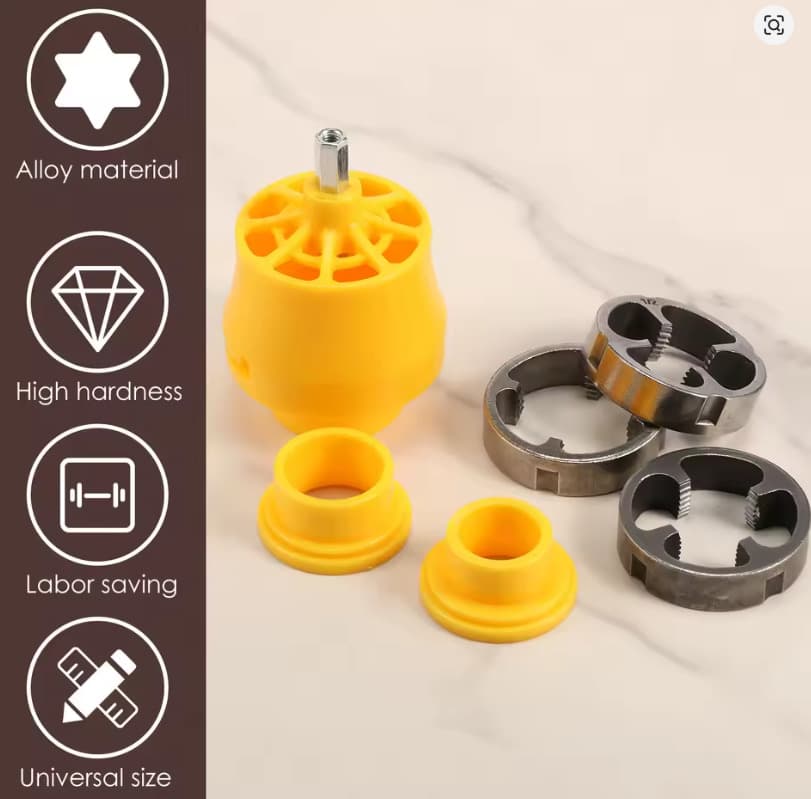
Recommended Threading Kits
- Repair kit (Rs 2,450): the 2-in-1 drill threader and the PPR reamer set, driven by the drill you already own.
- All sizes (Rs 4,100): add the manual PVC die kit for 1/2-inch and 1-inch threads.
- Ready to work (Rs 8,300): add the 12V Compact Cordless Drill so you can thread during load-shedding and away from sockets.
Our drill attachments guide covers more ways to get extra jobs out of the same drill. Everything here ships nationwide with cash on delivery, and our WhatsApp support can help you match sizes before you order.
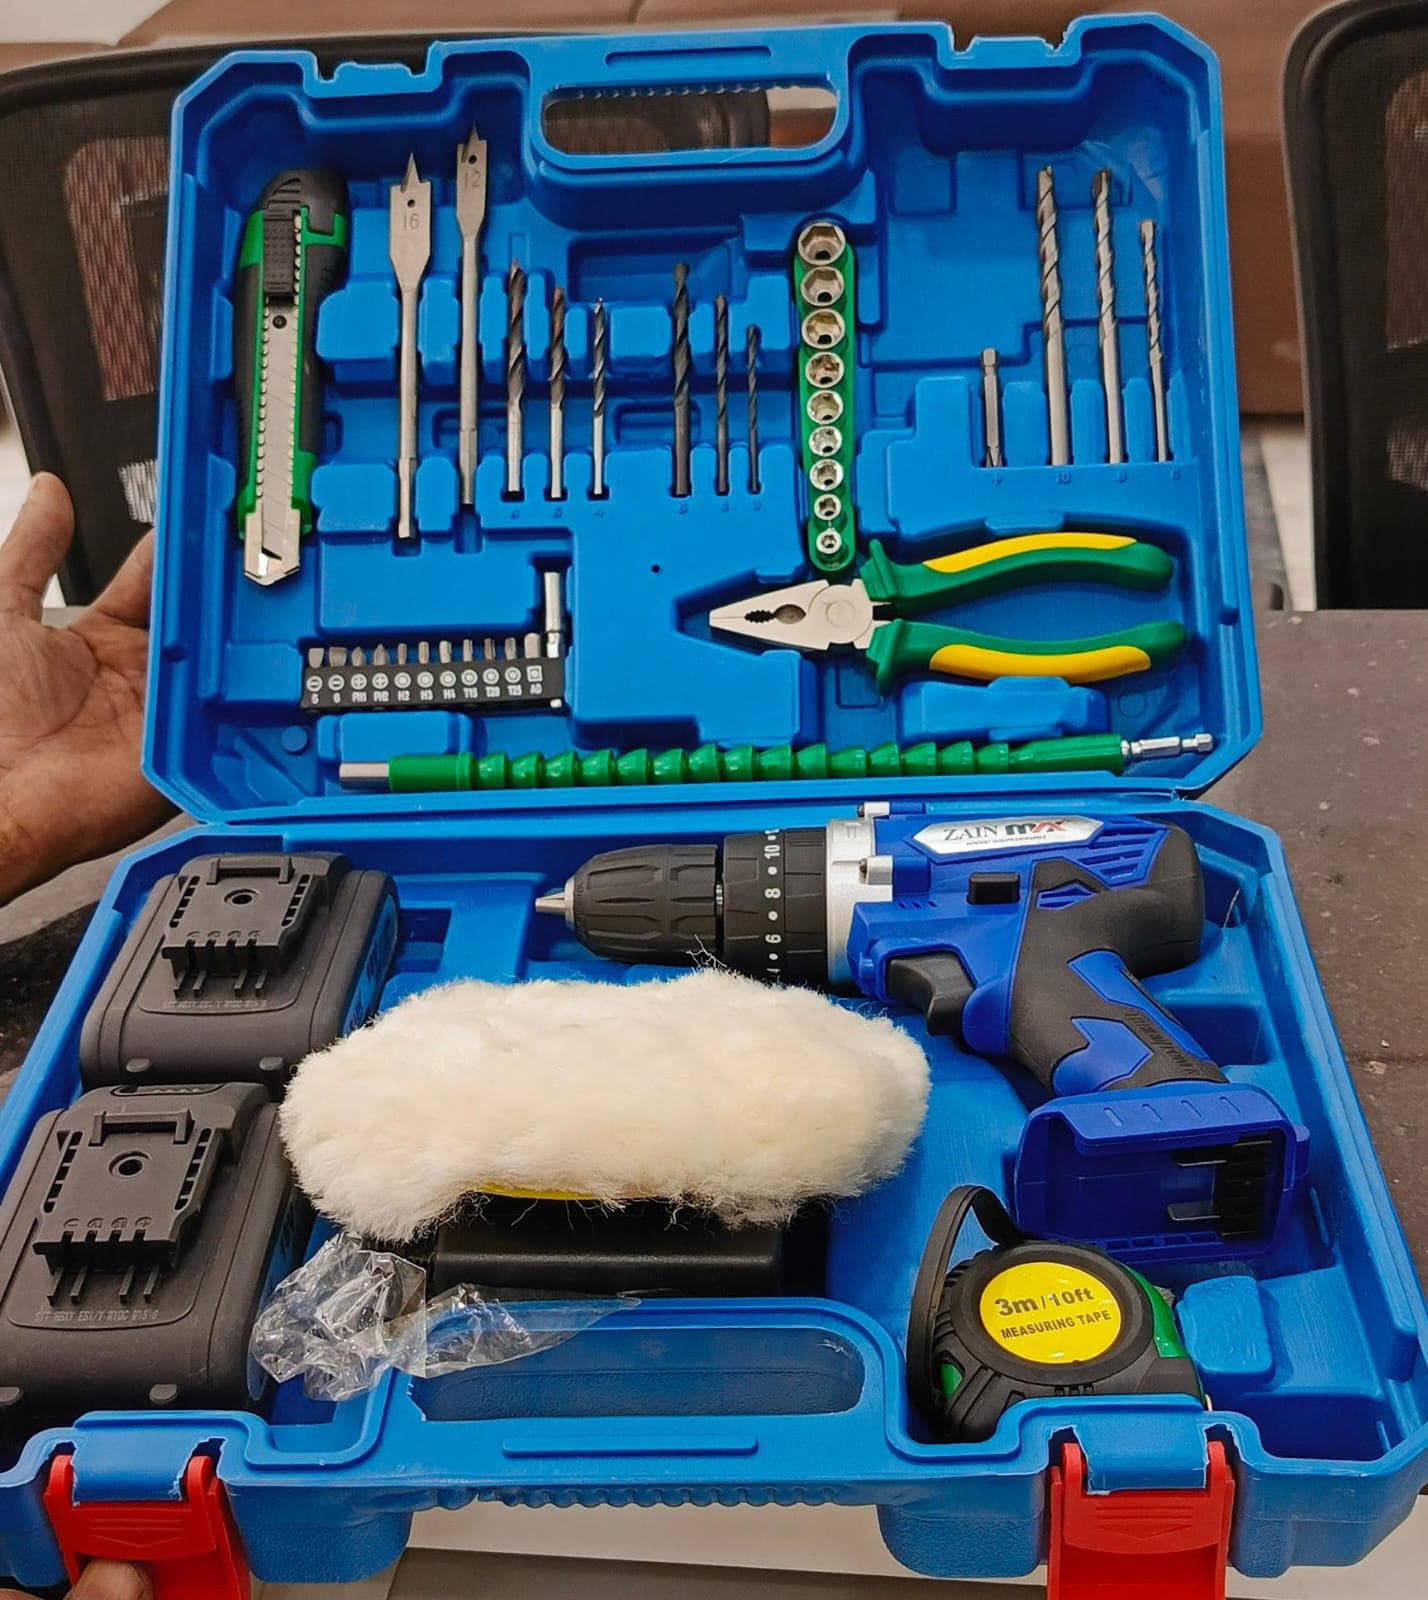
Shop · cordless drill
Zain Max
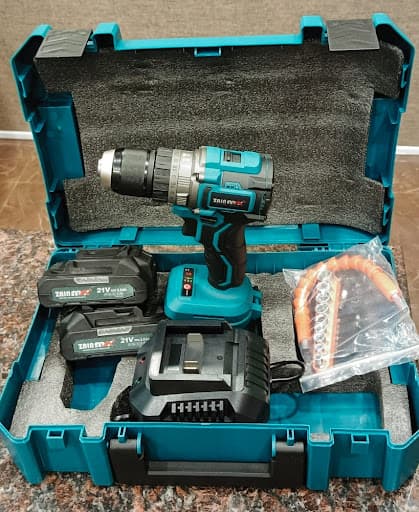
Zain Max Professional Cordless Drill Tool Kit - All-in-One 21V Lithium-Ion Drill & Accessory Set
Zain Max